THEGELSYSTEM
Show & GEL
Choose the perfect gels for your clients’ nail needs with LILLY DELMAGE’S roundup of expert advice & product picks
Team Lecenté used the brand’s Hard Builder Gel in Petal to create this pastel design.
While the popularity of soft gel products has dominated the nail industry in recent years, hard gel is standing firm as an ideal solution for repair and enhancement.
“For a long time, it has felt like builder gel in a bottle has been used on clients, regardless of its suitability for their nails,” shares Cornwall-based hard gel extension specialist & educator, Daisy May Flores. “Now, there is more awareness that one size doesn’t fit all, and clients are more open to being guided on what’s best for their natural nails. I’ve had more hard gel training enquiries this past year than in the previous three combined, which is refreshing.”

Daisy May Flores

Theresa Foddering
Theresa Foddering, Lecenté business development manager & Scratch Stars Shooting Star Award finalist 2025, adds: “If a client has weak or brittle nails that require extra support and strength, hard gel is a great option for enhancements.
The product often has a thick viscosity and provides a super strong base, to add extra support and protection to natural nails.”
Scan to see Manchester nail tech, @emilyrobynnailartist, start her hard gel journey using Nail Order, transitioning from brush-on builder gel manicures.
Scan to watch a client nail transformation using hard gel by pro, @byjessicaleahy.
THE GEL SYSTEM: FORMULA FOCUS
The variety of gel products and brands available can make it challenging to determine which is best to use. Here’s a breakdown of the science behind the gel system and some common gel types…

Nottingham nail artist &
Scratch Stars Gel Tech of the Year
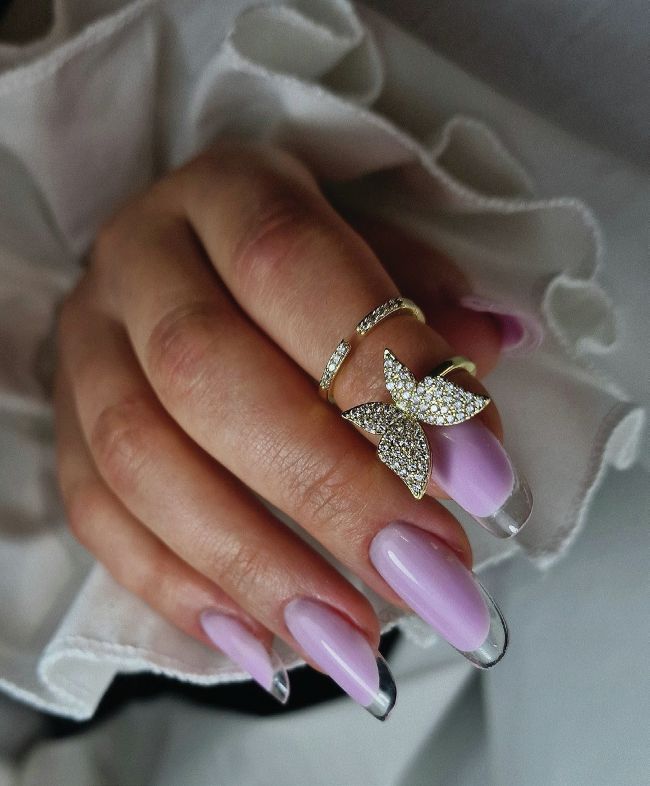
finalist 2025, Barbara Preil-Kovács, used the gel system to create these butterfly enhancements.
In book, Nail Therapist – A Professional Guide, author, Maria Sundberg Stuxgren, explains that all gel products are composed of advanced chemical compounds, with their properties determined by the structure of polymer chains formed during UV/LED curing. These chains, composed of monomers and oligomers, vary in flexibility and strength based on their molecular arrangement. By manipulating these structures, manufacturers can create gels with specific characteristics.

Lucy Booth
Traditional hard gel systems, typically housed in pots and applied with a brush, are designed to build and extend nails. Thicker and more durable than soft gel systems like gel polish, they can be used for overlays or to add length with forms or tips. Lucy Booth, Scratch Stars Gel Tech of the Year finalist 2025, says: “I love the gel system because it is so prescriptive. Products have different strengths, flexibilities and colours, so your services can be expertly tailored to your clients’ needs.”
Art gels
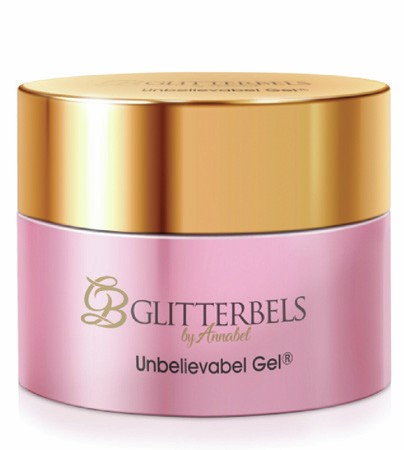
Glitterbels Unbelievabel Gel in Dreamboat £9.95 inc VAT
www.glitterbels.com This file-off, highly pigmented, no-wipe gel can be used on artificial nails as a full colour application, and for intricate artwork. Apply two coats with a gel brush, curing each layer for 60 seconds under the Glitterbels DreamCure Lamp.
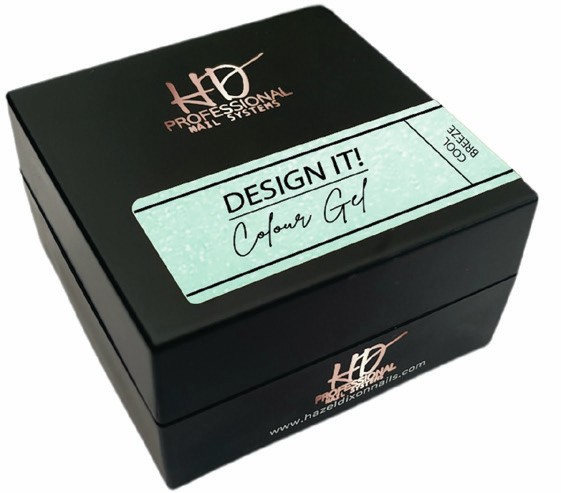
HD Pro Nails DESIGN IT! Colour Gel in Cool Breeze £13.49 inc VAT
www.hazeldixonnails.com HEMA-free, this file-off gel is ideal for nail art and one stroke styles, and can be used with any of HD Professional Nail Systems’ enhancement systems.
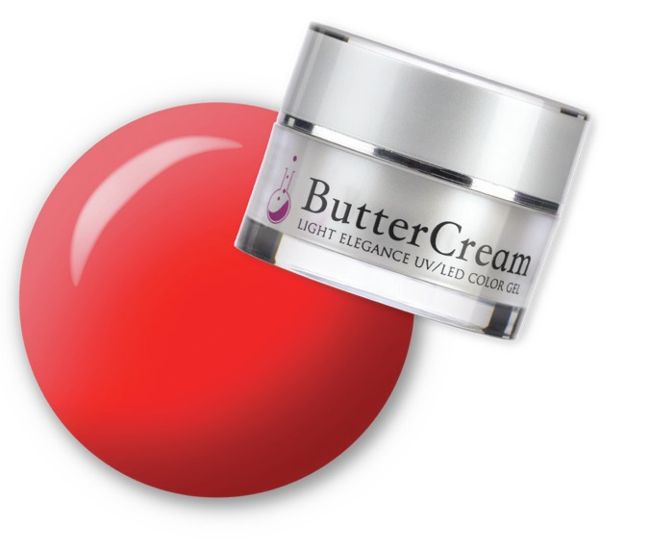
Light Elegance ButterCream in Flamin’ Hot £17.95 + VAT
www.lightelegance.co.uk HEMA-free and offering up to four weeks’ wear, this high-pigment gel is designed for detailed artwork. Apply over a structured nail created using JimmyGel, Lexy Line Hard Gel or L&P acrylic to unleash your creativity.
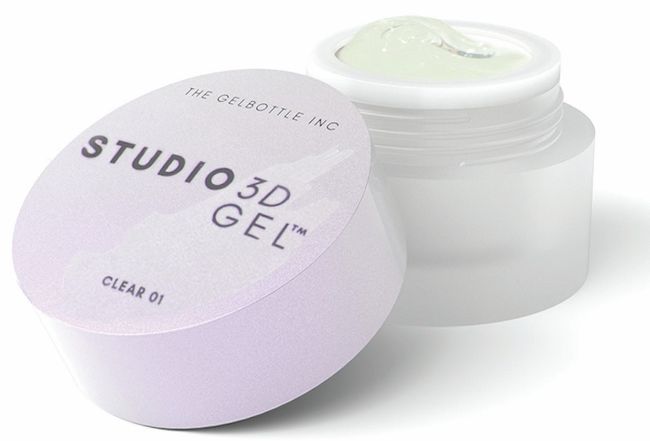
The GelBottle Inc Studio Gel
TM in Clear £14.40 + VAT
www.thegelbottle.com Dense, buildable and non-drip, this formula is ideal for 3D and textured nail art, including the seashell effects summer trend.
Repair gels
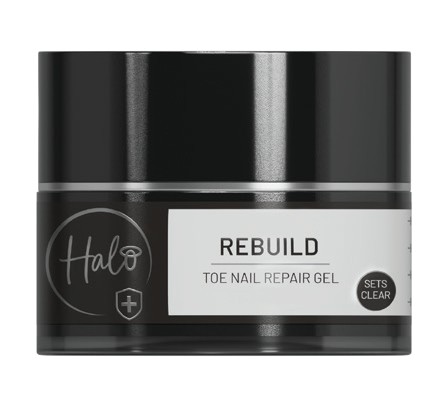
Halo Rebuild Toe Nail Repair Gel £22.95 + VAT & Rebuild Active Toe Nail Repair Gel £27.95 + VAT
www.purenails.co.uk Designed to repair broken or damaged toenails, Halo’s Rebuild Pedicure Gel is self-levelling and contains anti-fungal properties to help prevent infections. Offering strength and flexibility, it provides up to six weeks’ wear. Rebuild Active is formulated for clients whose toenails are subject to regular impact.
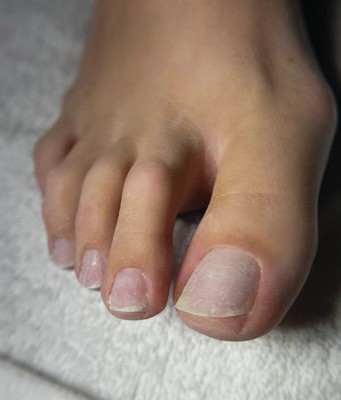
Before Halo Rebuild application

After
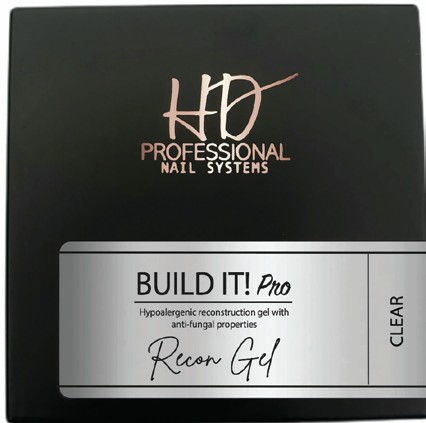
HD Pro Nails BUILD IT! Pro Recon Gel in Clear £17.99 + VAT
www.hazeldixonnails.com Designed for the cosmetic reconstruction of the natural nail, this hypoallergenic gel can be used alone, or with tips, forms or full cover tips. It is advised to undertake training in cosmetic reconstruction before using this product.
Sculpting & structure gels
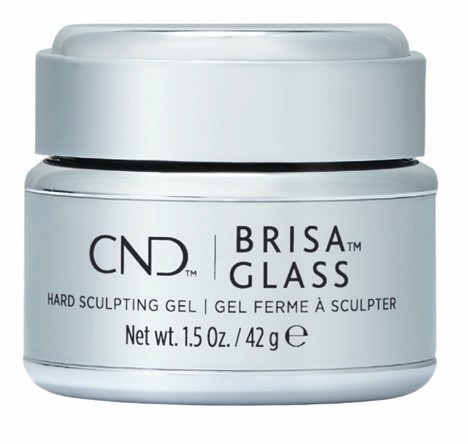
CND Brisa™ Glass Hard Sculpting Gel £59.95 + VAT
www.sweetsquared.com This crystal-clear sculpting gel formula has the same qualities as original Brisa™ Gel, and is ideal for negative space designs and encapsulating nail embellishments.
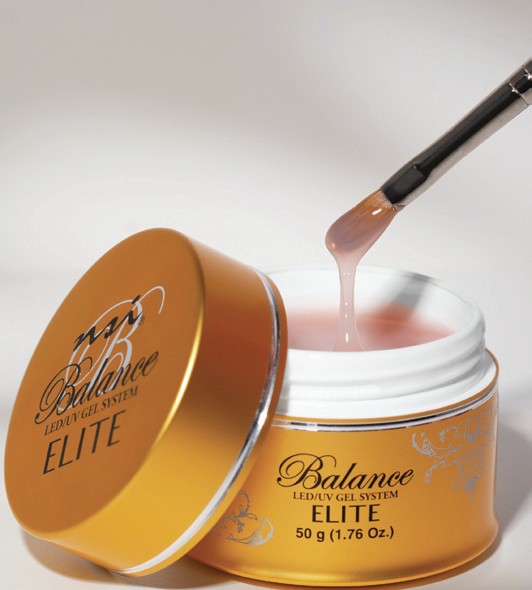
NSI Balance Elite Gel in Rosy Glow £20.95 + VAT
www.nsinails.co.uk Use this self-levelling, beginner-friendly and HEMA-free hard gel for overlays, sculpting on forms, tips and on toenails.

The GelBottle Inc GelPot 3 £27.59 inc VAT
www.thegelbottle.com Craft long extensions with this soft pink hard gel, which is suitable for use over tips, natural nails and with The GelBottle Inc Nail Forms.
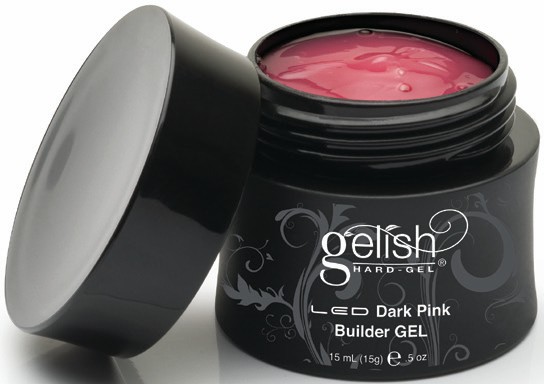
Gelish Hard Gel LED Dark Pink Builder Gel £19.99 + VAT
www.gelishmorgantaylor.co.uk Ideal for everyday wear, Gelish Hard Gel offers strength, durability and versatility. It can be used with tips, to create a reverse pink & white French, to sculpt and add strength and structure to natural nails.
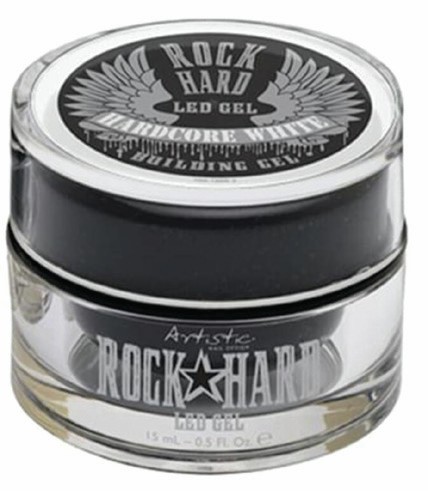
Artistic Rock Hard LED Building Gel in Hardcore White £14.45 + VAT
www.sweetsquared.com Sculpt strong extensions and build a flawless arch with ease using this gel, also available in Pink Rock and Clear.
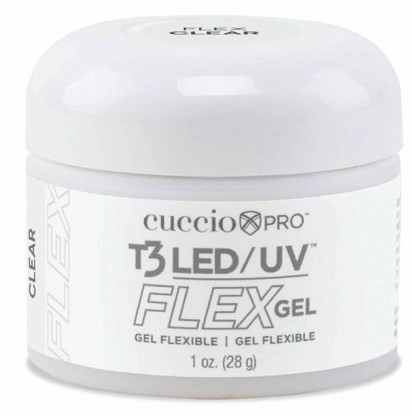
Cuccio T3 LED/UV Flex Gel in Clear £12.99 + VAT
www.cuccio.co.uk Available in a variety of colours, from Peach Pink to Ivory Cover, this mid-viscosity gel is designed to create lightweight, flexible and durable overlays, including over tips and forms.
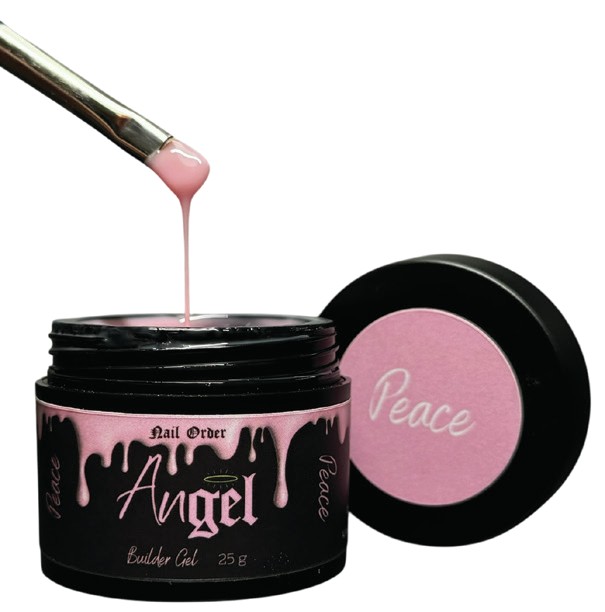
Nail Order Angel Builder Gel in Peace £20 + VAT
www.nailorder.co.uk This soak-off builder gel formula is HEMA and TPO-free, made in the UK and supports the creation of natural-looking nail enhancements. Use to build an apex over the natural nail, or with tips or forms to create desired structure.
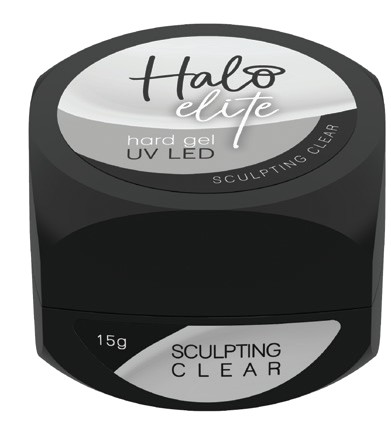
Halo Elite Hard Gel in Sculpting Clear £14.97 + VAT
www.purenails.co.uk This hard-wearing, HEMA-free gel is ideal for structure, building and extending to craft both salon-style and extreme nails.
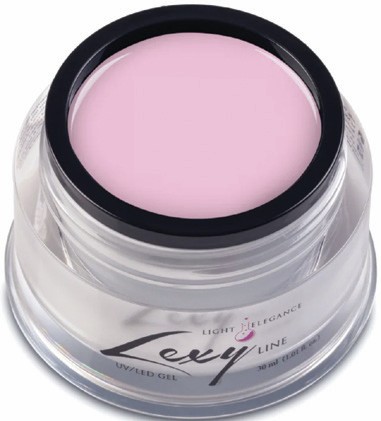
Light Elegance Lexy Line Builder Gel in Baby Pink from £27.95 + VAT
www.lightelegance.co.uk This thick viscosity, non-self-levelling hard gel is ideal for building and sculpting. IIts flexibility makes it suited to clients with ski jump nails or weak natural nails, and it is recommended for L&P acrylic clients switching to gel.
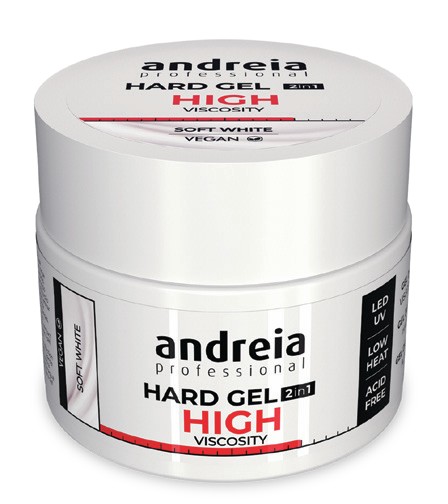
Andreia Professional Hard Gel 2 in 1 in Soft White £12.49 + VAT
www.salon-services.comwww.andreiaprofessional.com This high viscosity, two-in-one gel acts as a base and builder gel. It boasts self-levelling properties, is vegan and easy to apply. Scan to watch an application tutorial.
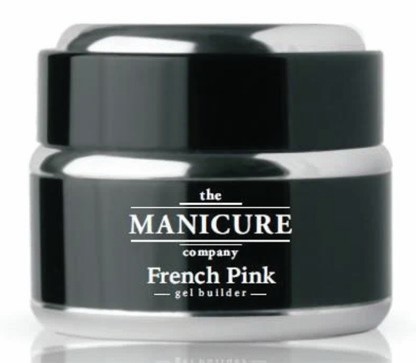
The Manicure Company LED Gel Builder in French Pink £27.70 + VAT
www.themanicurecompany.com Apply one layer of TMC’s LED Gel Builder and cure for 60 seconds to create a natural-looking overlay. Alternatively, use two to three medium coats to sculpt and build nails.
WHO IS THE GEL SYSTEM SUITED TO?
Emma Brock,
Scratch Stars Gel Tech of the Year
finalist 2025 & OPI Nail Boss, shares which nail types are best suited to hard gel:

Emma Brock
Clients most suited to hard gel enhancements include:
1. “Those with weak or brittle natural nails. Hard gel adds strength and durability.
2. Those who seek added length. Hard gel is excellent for sculpting extensions.
3. Those with natural nails prone to breaking. The strength of hard gel resists chipping and cracking.
4. Those with an active lifestyle. Hard gel can withstand more wear and tear than soft gel.
5. Those who seek long-lasting enhancements. Hard gel can last at least three weeks with proper maintenance.”
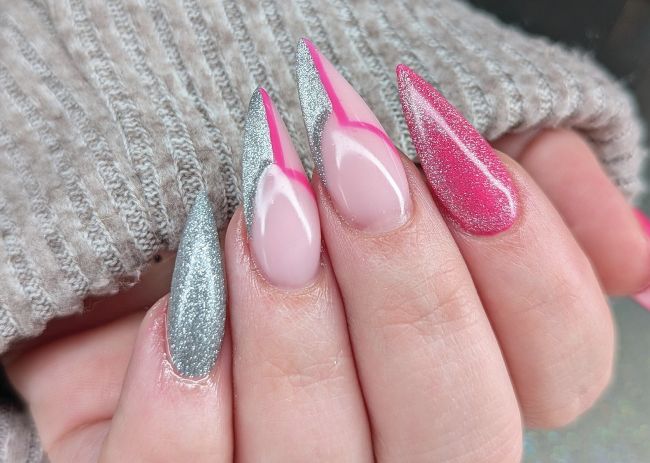
This two-toned sparkling style was created by Emma Brock using the gel system.
Clients not suited to hard gel enhancements include:
1. “Those with oily nail beds or who experience excessive nail lifting. Hard gel may not adhere well.
2. Those who frequently pick at or bite their nails. This can cause the gel to lift or crack.
3. Those with allergies or sensitivities to acrylates. Hard gel can trigger allergic reactions if not applied correctly.
4. Those unwilling to commit to regular infills and professional removal. Hard gel requires ongoing maintenance.”
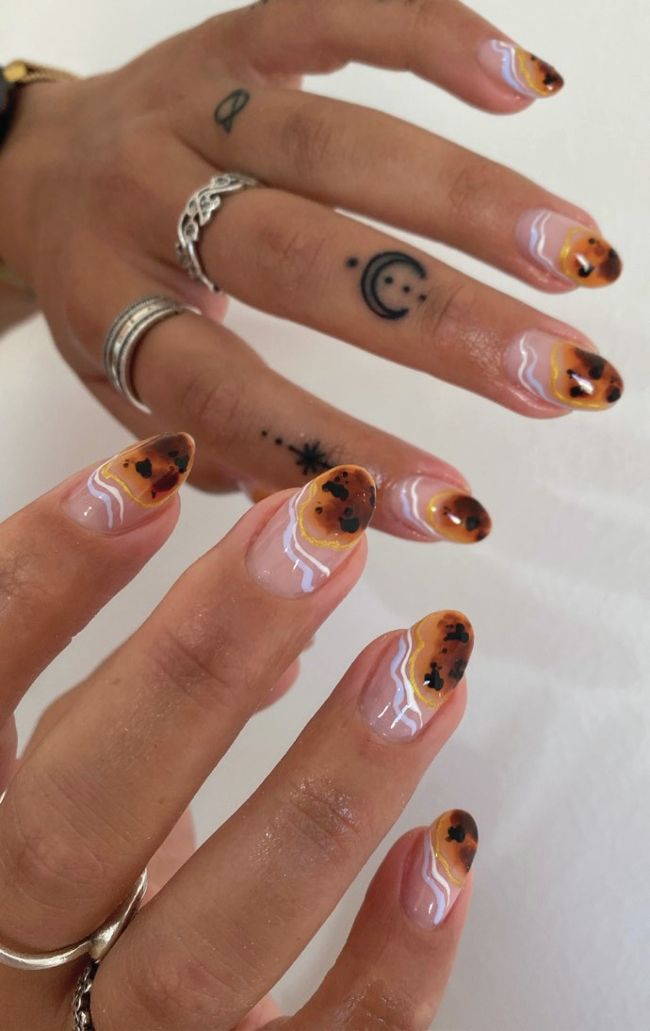
Daisy May Flore shared this abstract, tortoiseshell print gel design on Instagram.
Hard gel as a corrective tool

Barbara Preil-Kovács
“One of the benefits of hard gel is its ability to correct natural nail shape,” says Barbara Preil-Kovács, Scratch Stars Gel Tech of the Year finalist 2025. “It’s not just designed for creating structure; it’s a tool for transformation. I regularly work with clients who have hooked nails, which curve downward as they grow. With careful prep and assessment of the hyponychium, I can gently lift and straighten their appearance using hard gel.”
She continues: “Whether correcting minor asymmetry or a downward curve, hard gel enhances my clients’ natural nails without needing to extend. It’s essential to measure how far you can file without compromising the natural nail’s health, but when done correctly, the results are excellent.”
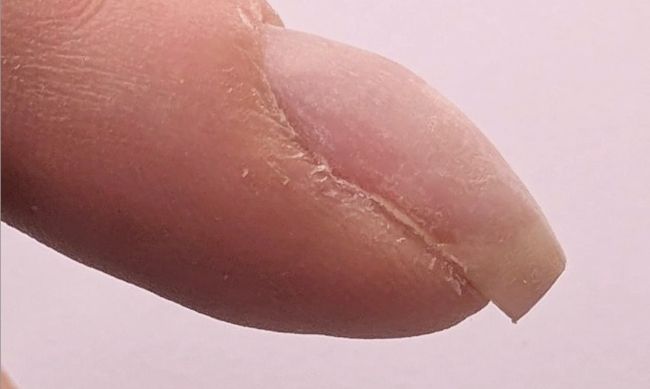
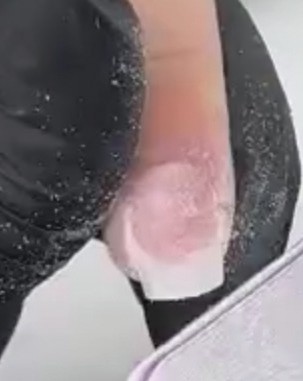
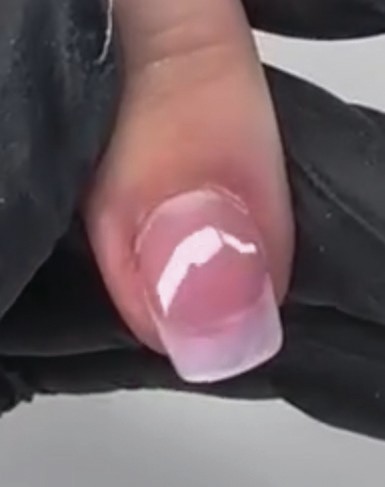
Barbara shares a photo of a client’s hooked nail.

Le Noir Oval 6 Gel Brush £12.99 inc VAT
www.lenoirluxury.com
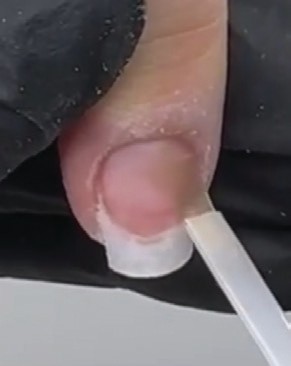
Barbara shares how to use hard gel to correct hooked nails, using Le Noir products:
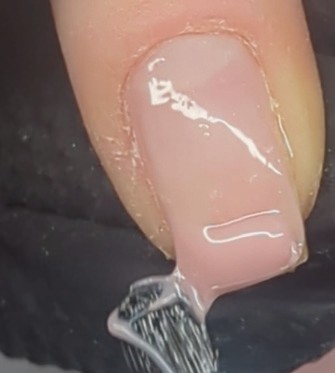
1
Step 1 Prep the nail thoroughly, then apply Nail Prep & Super Sticky Acid-free primer. Apply Rubber Base Gel in Clear and cure. Next, apply Colla Gel, a hard gel, to the free edge of the nail and manipulate to create a straighter nail. Using the Oval #6 Gel Brush, apply Colla Gel as needed to the rest of the nail to build and reinforce the structure. Cure.

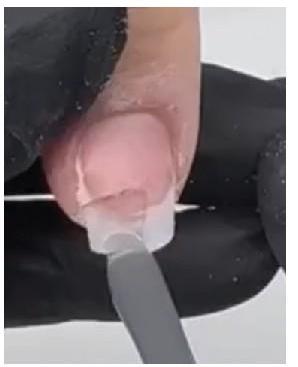
2
Step 2 Carefully assessing the hyponychium, file and correct the shape, being careful not to compromise the health of the natural nail.
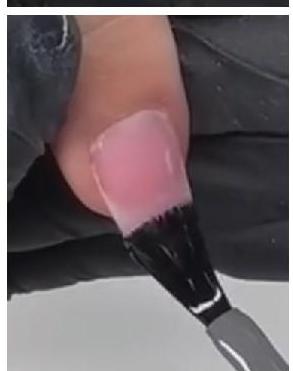
3
Step 3 Continue with your client’s requested colour or nail art finish. I used a black gel polish and finished by applying the SuperShine Top Gel, then cured.
GEL APPLICATION & REMOVAL
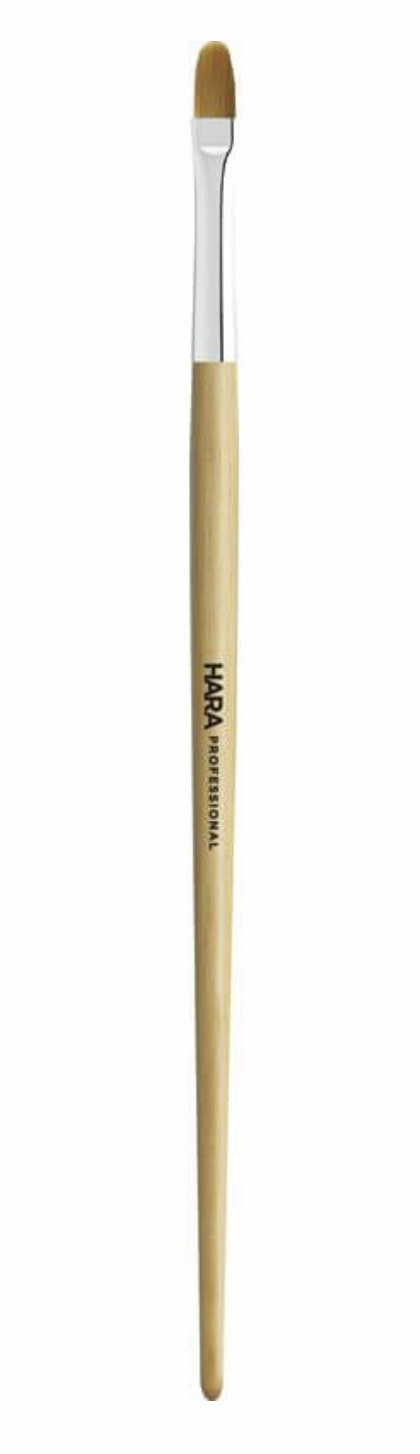
Hara Pro Round Gel Brush £9.99 + VAT
www.astonandfincher.co.uk
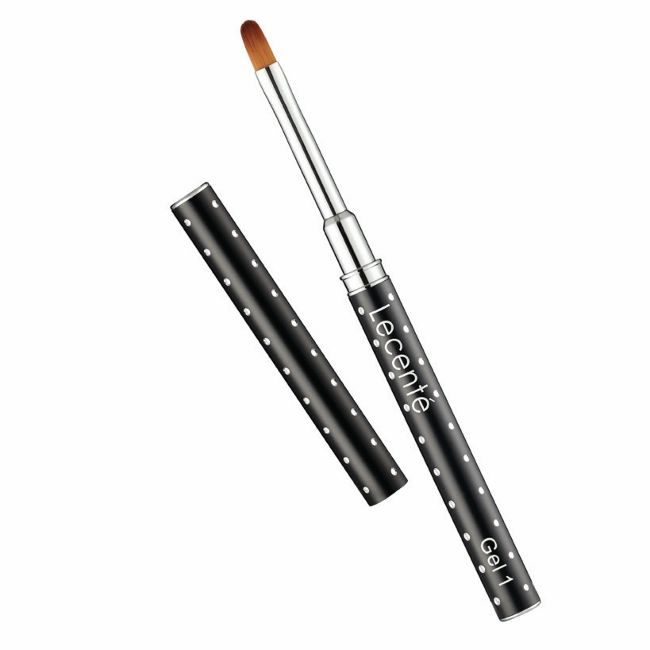
Lecenté Gel Nail Brush Gel 1 £14.99 + VAT
www.lecente.com Application pointers
Emma Brock says: “The secret to beautiful, long-lasting gel enhancements is through prep. Make sure the nail plate is completely clean and dry, as any oils or remaining cuticle can cause lifting.” Her advice is to: •“Use a gentle buffer.
• Push back cuticles thoroughly.
• Apply a high-quality dehydrator and bonder.
• Work in thin, even layers.
• Let the gel self-level – don’t overwork it.
• Build a solid apex for strength, especially on longer nails.
• Float your brush lightly for a smooth finish.
• Always cap the free edge.”
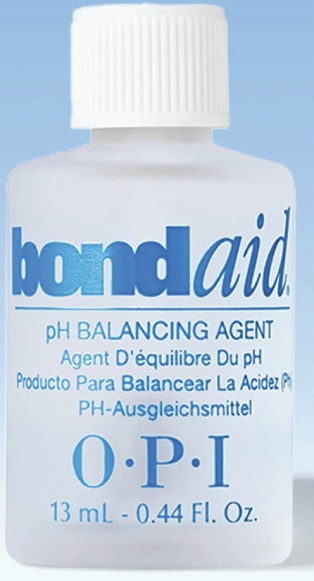
OPI Bond Aid pH Balancing Agent £POA
uk.wella.professionalstore.com
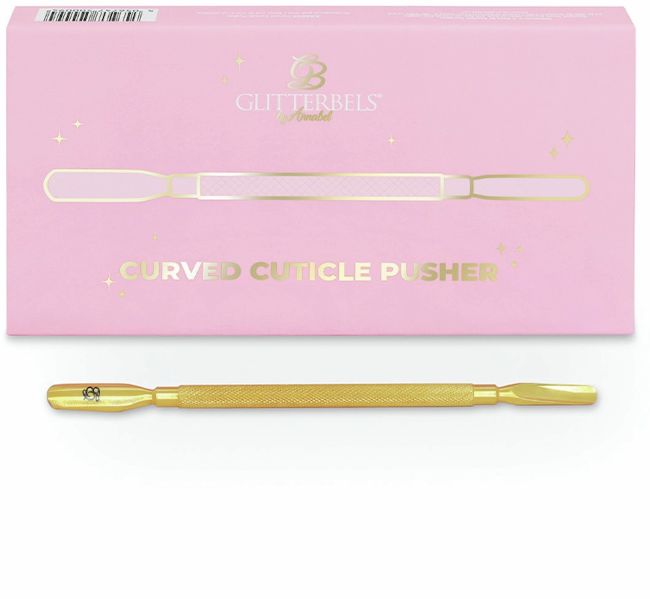
Glitterbels Curved Cuticle Pusher £25 inc VAT
www.glitterbels.com
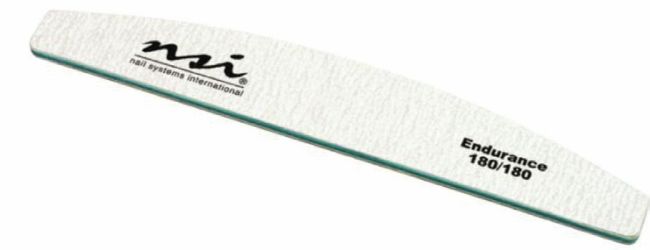
NSI Endurance 180/180-grit Nail Files (10pk) £10.96 + VAT
www.astonandfincher.co.uk
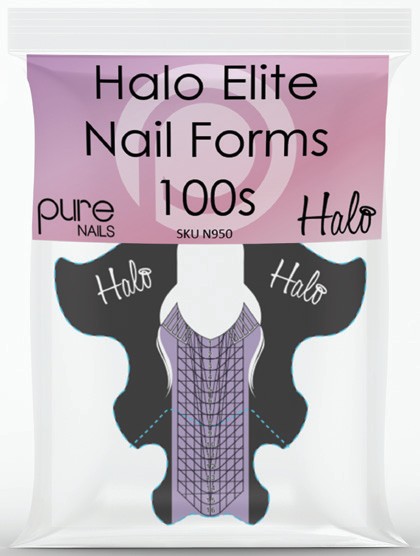
Halo Elite Nail Forms (300 units) £6.99 + VAT
www.purenails.co.uk
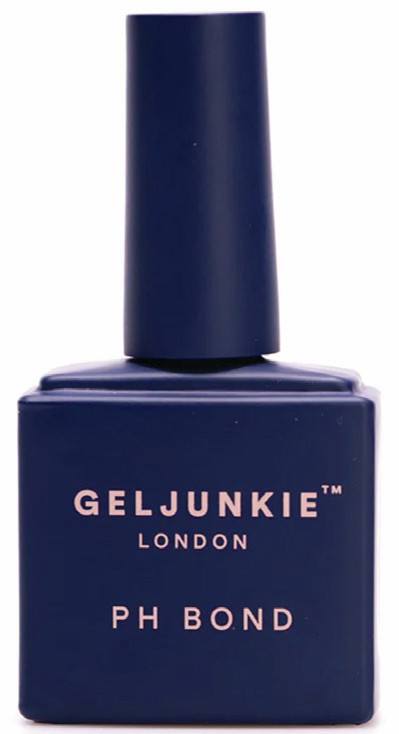
GelJunkie PH Bond £9.95 inc VAT
www.geljunkie.co.uk

Justyna Pryke
Justyna Pryke, Scratch Stars Gel Tech of the Year finalist 2025, shares her advice for perfecting hard gel infills: “I apply the first hard gel layer on the nails thinly, making sure the nail is fully covered. Then, I pick up a larger gel bead and apply it to one-third of the nail, where the apex is, using soft, round movements to pull the gel down towards the free edge. Place the client’s nail upside down to allow the product to self-level.”
Gelish Hard Gel: a step-by-step

Najet Hamila Strand
Najet Hamila Strand, global director of education at Nail Alliance, shares why she loves the Gelish Hard Gel system: “Its self-levelling properties are helpful when building the apex curve. Keep application thin around its perimeters. When it is time for rebalancing, filing and reapplication is quick, providing a faster service or leaving more time to spend on nail art.”
How to use Gelish Hard Gel with tips:
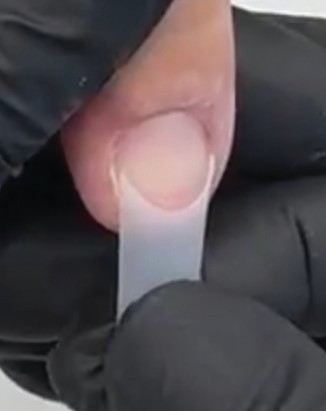
1
Step 1 Select the correct sized tips for each nail. Ensure they reach the full width of the natural nail without overlapping the skin. If needed, file the sides slightly.
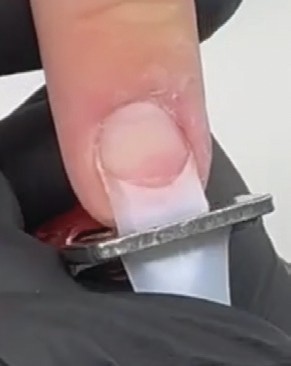
2
Step 2 Apply the tips using nail adhesive and use tip cutters to cut to the desired length.
3
Step 3 Blend the seam of the tip using a 180/180-grit file so it sits flush with the natural nail, ensuring a smooth transition and natural appearance. Remove dust using a nail dust brush or lint-free wipe.
4
Step 4 Apply Gelish pH Bond to the natural nails only, avoiding the tips.
5
Step 5 Apply a thin layer of Gelish Foundation Soak-Off Base Gel, scrubbing into the nail and tip. Cure for five seconds.

6
Step 6 Brush a thin layer of Gelish Hard Gel over the nail, but do not cure. This will help guide the next layer of gel smoothly into place. Next, apply a bead of Gelish Hard Gel to the centre of the nail, using a square or oval brush. Gently pull it down towards the cuticle, sidewalls and free edge. You can also use the stringing method, allowing the gel to ‘string’ from the brush to the nail in a controlled manner for precise placement. Cure in the Gelish 18g Unplugged Lamp for 30 seconds.
7
Step 7 Apply your chosen Gelish top coat and cap the edges to seal the enhancement. Cure for 30 seconds.
8
Step 8 Remove the inhibition layer using Gelish Cleanser. Massage Nourish Cuticle Oil into the cuticles and surrounding skin to hydrate.

Gelish Hard Gel LED Cover Pink Builder Gel £19.99 + VAT
www.gelishmorgantaylor.co.uk
Troubleshooting
Emma Brock details some of the most common issues nail techs can experience using the gel system – and how to fix them:
“Lifting
Cause: This is when the gel starts peeling away from the natural nail and is usually a result of poor nail prep. If there is any oil, moisture or non-living tissue left on the nail, the gel won’t adhere properly.
Fix: Take your time with prep. Push back cuticle, gently buff and dehydrate the nail plate, keep your base layers thin and ensure you cap the free edge.
Scan to watch aTikTokvideo by nail tech, content creator & founder of The Nail Dates community, Samantha Haste of @printbysam, where she details how to prevent lifting with hard gel.
“Heat spikes
Cause: The burning sensation under the lamp can happen when the gel layer is too thick or the product is curing too quickly. Sensitive nails are more prone to this.
Fix: Apply in thinner layers and flash cure for five to 10 seconds before a full cure. If your lamp has a low-heat mode, use it.
“Cracking or breaking
Cause: If the enhancement is too thin, or the stress points (like the apex or sidewalls) aren’t strong enough, the gel can crack.
Fix: Build a strong apex and reinforce key areas. Don’t apply too thin just to make the nail look natural – structure matters! Always finish with a top coat that’s designed for hard gel.
“Bubbles in the gel
Cause: These usually happen when you press too hard with the brush or overwork the product.
Fix: Use a light hand and let the gel do the work – it’s self-levelling for a reason! Don’t stir or mix the gel.
“Yellowing or discolouration
Cause: This is usually a result of low-quality products or exposure to tanning beds, cleaning products or smoking.
Fix: Invest in high-quality gels with UV protection. Encourage your clients to wear gloves when cleaning and avoid harsh chemicals.
“Most of these issues are easy to fix with good prep, quality products and a little patience,” concludes Emma.
Removal
Hard gel removal requires care and focus to maintain the health of the natural nail. Daisy May Flores advises: “Reduce the grit of the file as you near the nail plate, and leave a very thin layer of hard gel to grow out. Alternatively, apply a rubber base underneath, file down to that, then soak off.”
Andreia Professional product director, Sara Pinto, offers her expert advice for safe and efficient hard gel removal: “Never peel or force the gel off, as this can damage the natural nail. Instead, file down the bulk of the gel using an E-file, avoiding direct contact with the natural nail. I recommend using a coarse tungsten bit. Gently refine the remaining product until it is safely removed.

Sara Pinto
“If the client chooses to take a break from gel, leave a thin, even layer on the nail as a protective barrier during natural regrowth. This prevents weakening and helps maintain the integrity of the nail plate.”
Justyna Pryke shares her go-to tools and techniques: “My favourite tool for gel removal is a carbide flame E-file bit in medium or coarse. If there is any lifting, these bits remove it without damaging the natural nail. I always shorten the nails with my drill bit first, then finish-file using a hand file.”
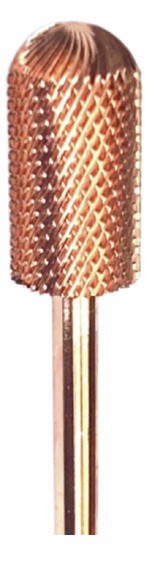
HD Pro Nails Carbide Round Top Rose Gold Bit in C £13.99 + VAT
www.hazeldixonnails.com This coarse grit carbide bit is perfect for use on hard gel, removing bulk, thinning out product and refining free edge length. Its high-quality tungsten material offers hard wear resistance.
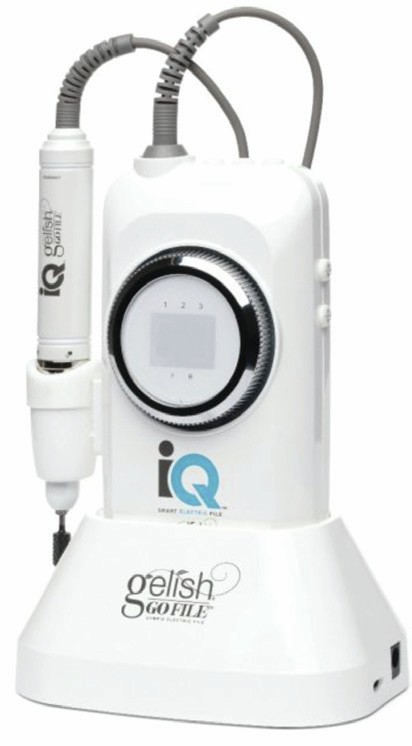
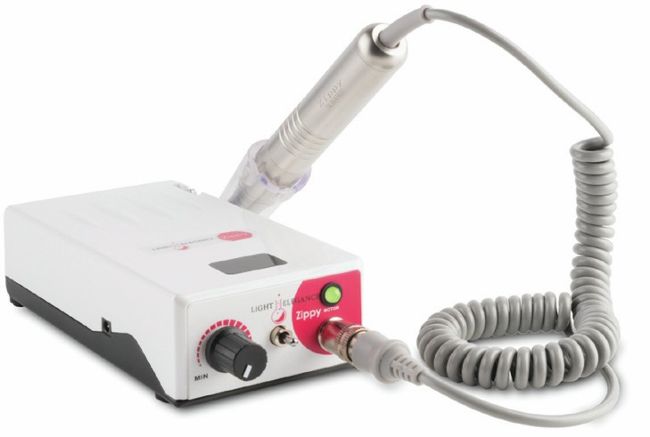
Gelish Go File IQ Hybrid Electric File £399.99 + VAT
www.gelishmorgantaylor.co.uk
Light Elegance Zippy Gen2 Electric File £419.95 + VAT
www.lightelegance.co.uk
WHY IS THE GEL SYSTEM BENEFICIAL?
We’ve learned about the benefits of the hard gel system, but many of the same advantages, such as adding length and strength, can also be said of the liquid & powder (L&P) acrylic system. So what are the key differences?
A nail tech’s perspective
Barbara Preil-Kovács says: “I used to work with the L&P acrylic system and eventually transitioned to hard gel, as I suffered with frequent headaches due to monomer odour. In terms of technique, hard gel gives me more time to work and sculpt, and I find it easier than L&P acrylic to file and refine.”
Suffolk-based nail tech & educator, Elenora Sinkeviciene, explains: “Hard gel is more flexible than L&P acrylic, making it less prone to cracking on clients with flexible natural nails, and it is stronger than soak-off gel.”
Elenora Sinkeviciene
Daisy May Flores adds that she enjoys the convenience of hard gel: “It’s pre-mixed so, unlike the L&P system, you don’t need to worry about achieving a perfect ratio. I also find it much less temperamental in cold weather. Filing off hard gel is easier than L&P acrylic, as it is softer so prevents strain on the wrists.”
A client’s perspective
Emma Brock notes: “Clients love how natural gel looks and feels. It’s lighter than L&P acrylic and more flexible. Hard gel offers a glassy, high-shine finish that’s perfect for a clear design, encapsulation or natural look, while L&P acrylic tends to cloud over time.”
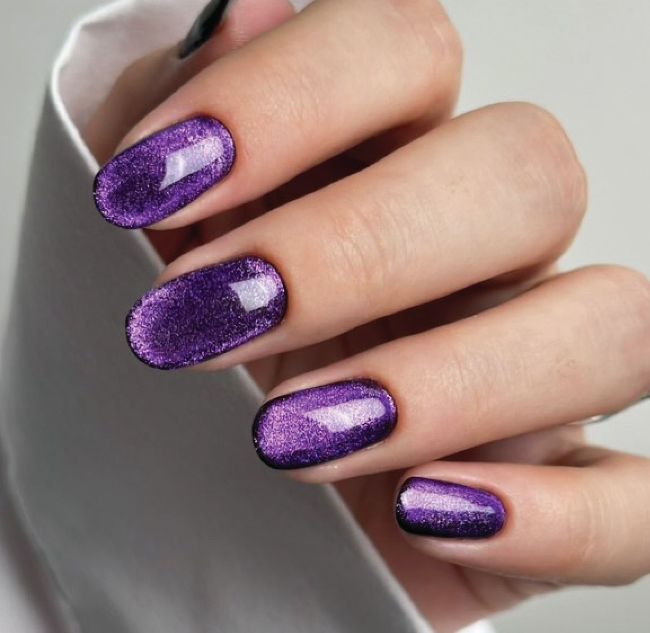
Elenora Sinkeviciene of @elitenails_academy created this regal manicure using gel.
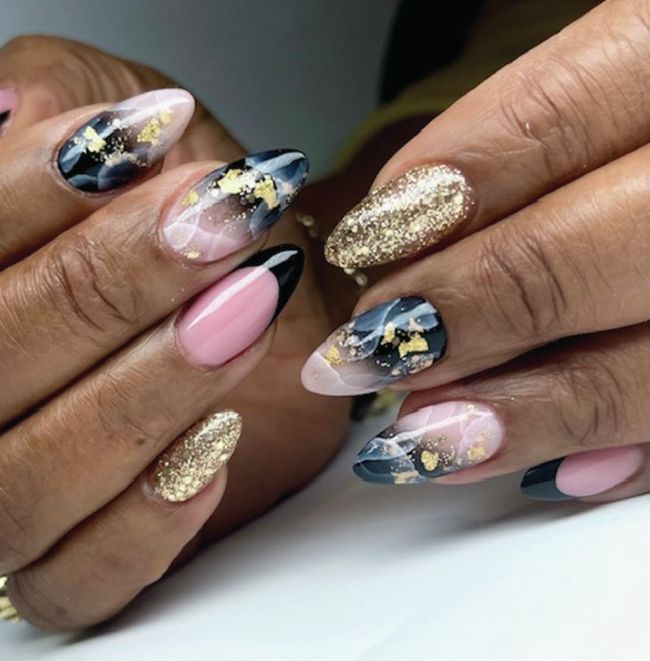
Justyna Pryke shares a high-shine gel manicure, which incorporates glitter and marble effects.