TRAINING SPOTLIGHT
READY, SET, sculpt!
JESS WATTS spends a day learning about L&P acrylic application from Kym Moody, member of the Scratch Stars Ultimate Nail Team: Hazel Dixon Nail Artist Academy
Since attaining a gel polish qualification last year, I have been keen to dip my toes into other nail styling mediums. So, when the time came to serve up insight into the L&P (liquid & powder) system in
Scratch’s
June issue, it felt like the perfect opportunity to enhance my knowledge firsthand. And who better to introduce me to the world of L&P acrylic enhancement application than Kym Moody: educator, nail expert & member of the HD Nail Artist Academy team?
Star-studded success
Hazel Dixon Nail Artist Academy was created by award-winning nail pro, educator & founder of HD Professional Nail Systems, Hazel Dixon. She is the most decorated Scratch Stars Awards winner to date, and entered the Hall Of Fame in 2018 as Ultimate Nail Stylist and Ultimate Mixed Media Artist. The HD Nail Artist Academy team followed in her footsteps, entering the Hall Of Fame in 2021 as Ultimate Nail Team.
Before the brush
One of the golden rules of nail training is that theory is just as important as practice – and the HD education team takes this very seriously. Before setting foot in the classroom, I was enrolled onto Hazel Dixon Nail Academy Online, working through a 16-lesson course covering nail anatomy, product science and health & safety.
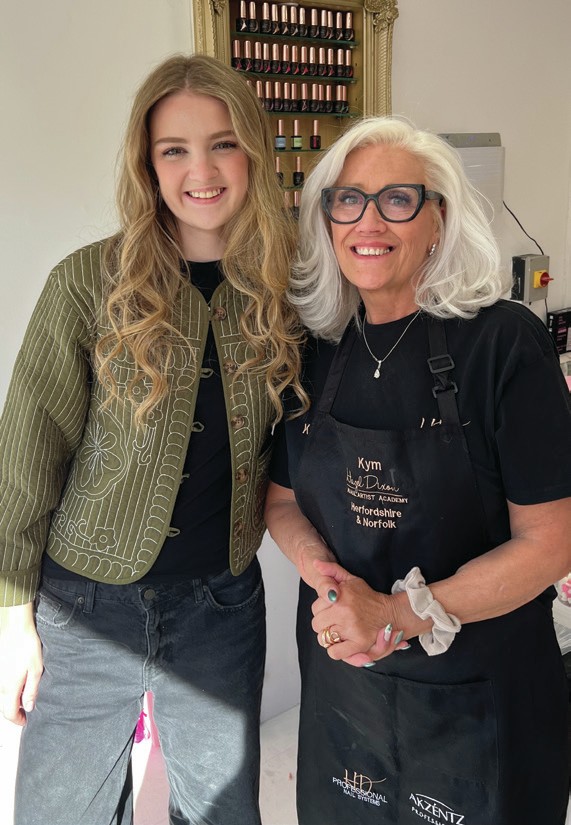
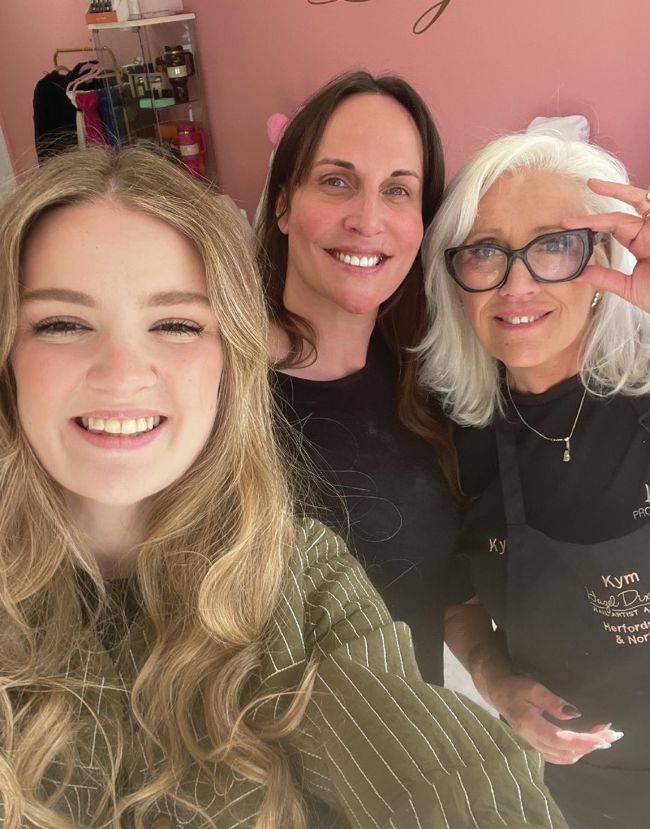
Jess with Kym Moody.
Each lesson ended with written tests and multiple-choice questions, and by the time I reached the final module, I could feel the foundations of my knowledge beginning to take shape.
The main event
Upon booking my training day, I was virtually introduced to Kym Moody, who is part of a network of HD Nail Artist Academy educators across the UK. Kym covers Norfolk and Hertfordshire, teaching a range of courses and sharing her expertise with students of all skill levels.
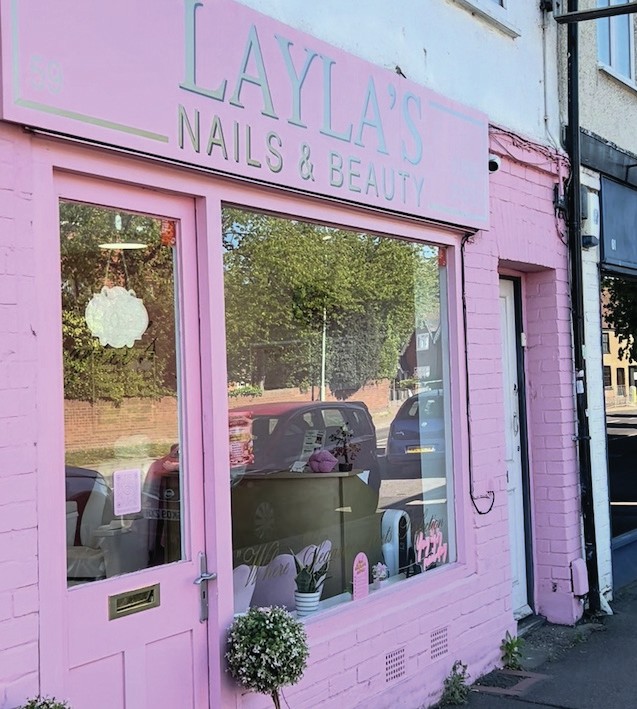
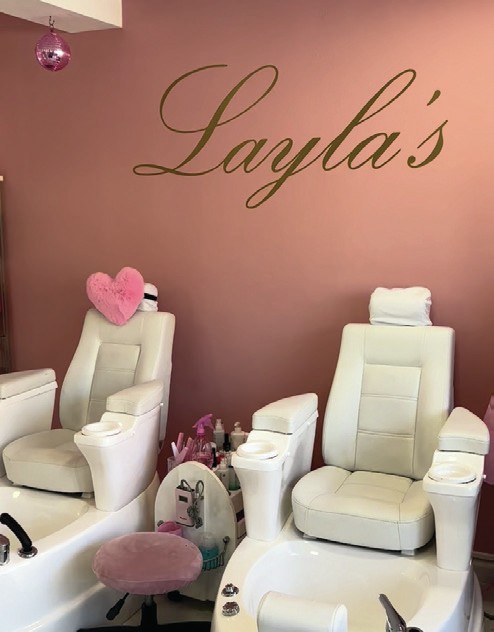
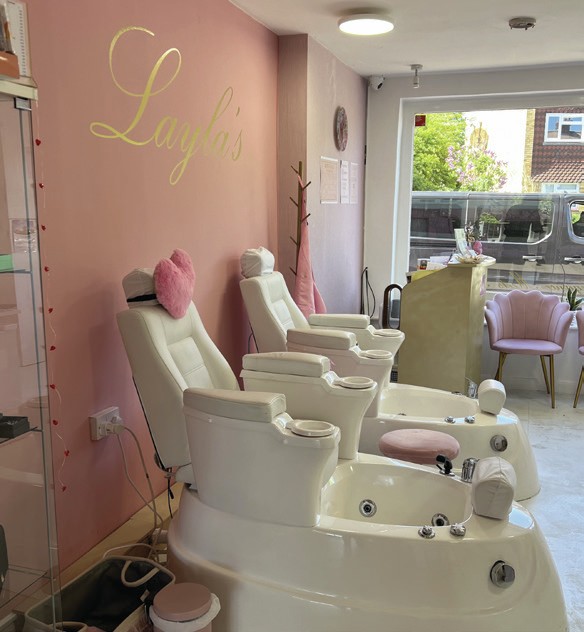
On the day of my practical course, I arrived at the training location and was immediately charmed. Nestled on Wormley high street in Hertfordshire, Layla’s Nails & Beauty – a gorgeous salon fronted by distinctive pink brickwork – was . impossible to miss. I was greeted by owner, Lisa Kemp, and Kym, and shown around the venue: a pretty and calming location for my training.
Over a cup of tea, Kym detailed the plan for the day. It is worth noting that the practical element of the HD Pro Acrylic Course typically spans three to four days, but I received a taster session: training condensed into one day.
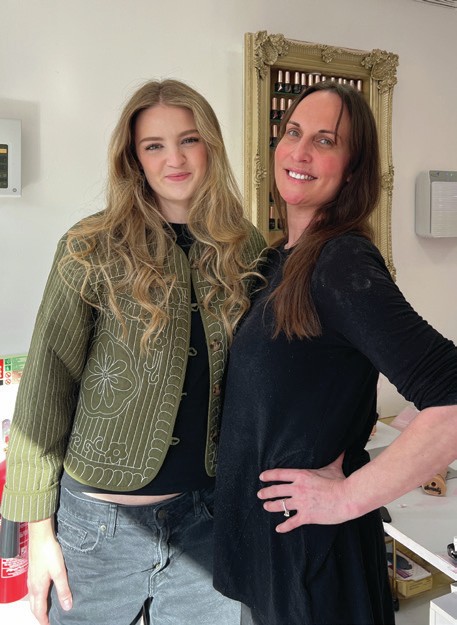
With owner of Layla’s Nails & Beauty owner, Lisa Kemp.
LESSON 1: perfect prep
I was presented with the HD Professional Nail Systems Adhere Acrylic Starter Kit, containing everything I would need for the day. Kym also brought along her trusty practice hand, which we affectionately named ‘Handgelina’.
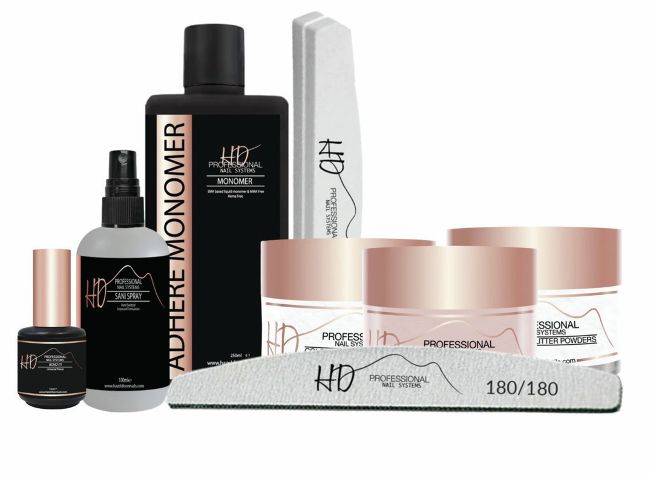
HD Professional Nail Systems Adhere Acrylic Starter Kit £82.99 + VAT
www.hazeldixonnails.com
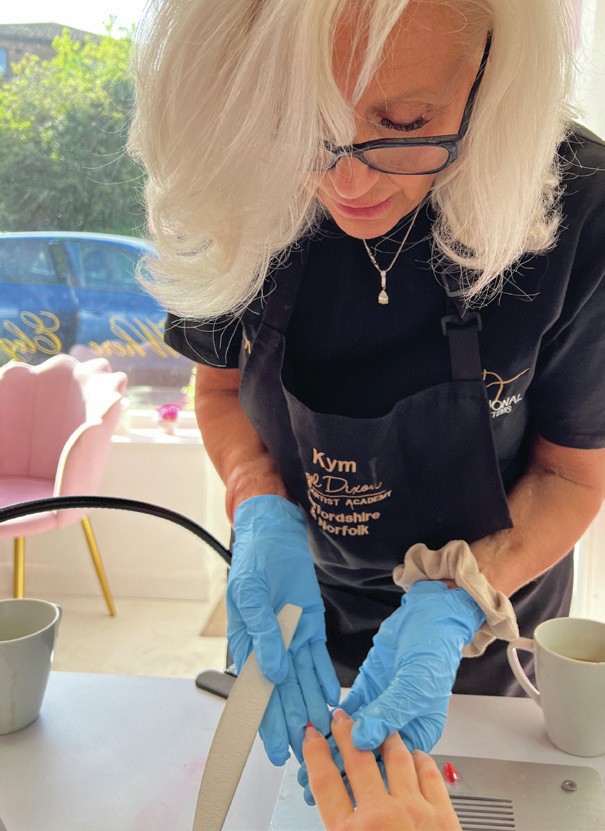
As with any nail system, preparation is key. With Lisa Kemp as our hand model, we focused on pushing back the cuticle, removing dead skin, filing the free edge and buffing the natural nail. Once the nails were dehydrated and cleansed, Kym demonstrated tip application using HD Professional Nail Systems Fix It! Nail Glue. “Rocking the tip back and forth helps eliminate air bubbles,” she explained.
It was then my turn. Working methodically across Handgelina’s fingers, I applied a full set of tips – my confidence growing with each one.
Next came a crucial step in creating flawless L&P enhancements: blending the tips into the natural nail. “When working near the natural nail, always use a file with a grit of 180 or above,” Kym advised. This small but crucial detail protects the nail.
Once the tips were applied, blended and buffed, it was time to move onto the next stage.
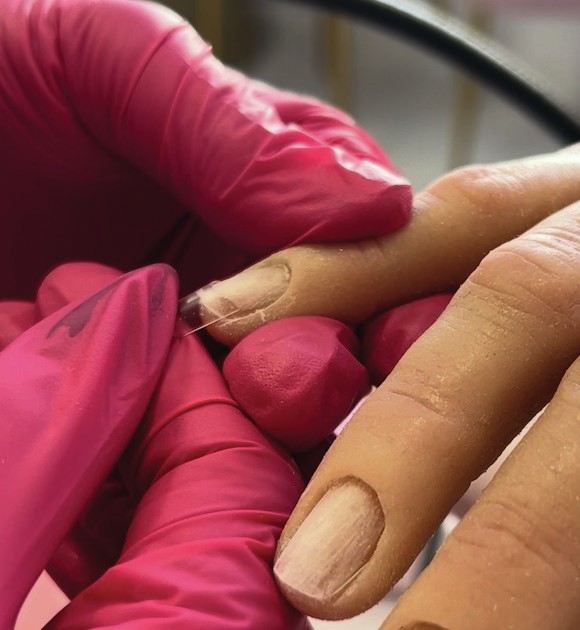
The stages of applying tips.
LESSON 2: beautiful beads
Creating the perfect acrylic bead is no easy task. “It will take practice,” Kym said to me as she methodically explained liquid to powder ratios and the best techniques for bead pickup.
Kym gave me a bead practice sheet – a laminated piece of paper covered in circles of different sizes. My task was to fill the circles without my beads seeping over the edges (working too wet) or staying balled up in the centre (working too dry).
Using HD Professional Nail Systems Adhere Monomer and several of the brand’s acrylic powders, I practiced creating beads. Some stayed neatly inside the lines, while others did not, but the exercise quickly helped me understand consistency and control.
LESSON 3: successful sculpting
After a brief pause for lunch, it was time to start the next step of my L&P acrylic journey: application.
“The main thing to master is your method,” Kym told me, before offering a metaphor that I will remember for a long time: “Put the baby to bed – and always make sure you tuck it in.” In other words, once a bead of acrylic is placed, the key is to immediately pat it from behind, blending it into the nail before it begins to set.
Kym also talked me through the angles of my acrylic brush and how to use each part effectively. “The tip picks up the bead and tucks product into small areas, while the belly holds the monomer: pressing, flattening and patting the product into place,” she explained.
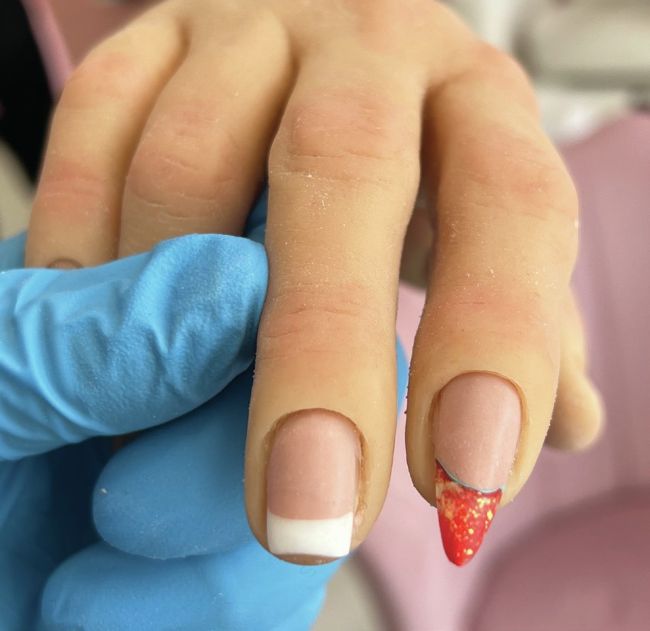
Having successfully produced a passable – if slightly wobbly – L&P acrylic enhancement, Kym suggested I try crafting reverse French tips: one traditional white, and one with coloured acrylic powder. She patiently guided me as I created the smile lines and French tips, before introducing the most satisfying part of the process: filing.
‘‘ The day was an education extravaganza from start to finish, and one that left me with new skills, a deep respect for the craft and a very strong desire to keep creating L&P nails. ‘‘
“This is where everything comes together,” Kym promised, adding that to maintain symmetry across all nails, I must ‘treat every nail the same, working in sections and perfecting one area across all nails before moving onto another section’.
With an outline drawn on in pencil as my guide, I began refining my enhancements with a 180-grit file, revealing a smile line far sharper than I anticipated. I then smoothed out any ridges using the HD Professional Nail Systems 100/180 Buffer. As I worked, Kym was on-hand to offer support, guidance and advice.
LESSON 4: the finish
Once my enhancements were refined, there was one thing left to do. After wiping them with HD Professional Nail Systems Sani Spray to remove any dust, I applied a coat of the brand’s Shine It! No Wipe High Shine Top Coat and cured, and my first L&P acrylic enhancements were complete.
I sat back and looked at what I had crafted, feeling delighted with my new knowledge, and revelling in pride and a sense of achievement. The day was an education extravaganza from start to finish, and one that left me with new skills, a deep respect for the craft and a very strong desire to keep creating L&P nails.
Since the course, I have been practicing my bead pickup, refining my technique and experimenting with different styles. I have well and truly caught the L&P bug!
A huge thank you to Kym Moody for her endless patience, warmth and expertise; to Lisa Kemp for opening the doors of Layla’s Nails & Beauty and ensuring the day was special, and to Hazel Dixon for making it all possible.
Browse Hazel Dixon Nail Artist Academy training options via www.hazeldixonnailartistacademy.com HD Professional Nail Systems products are available via www.hazeldixonnails.com
@hdnailacademy & @hdpronails
/hazeldixonnails & /hdpronails