SOCIAL MEDIA MATTERS
The Social Scene
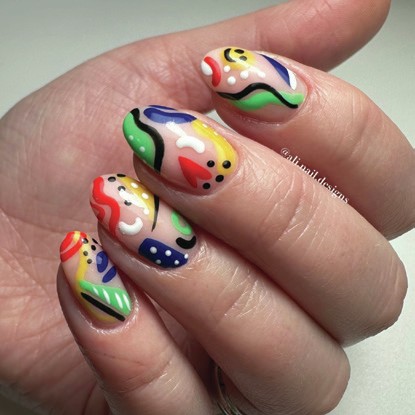
Mastering ‘nailfies’: photography tips to elevate your social media content
LILLY DELMAGE unlocks social media secrets & shares expert tips to help boost the online profile of your business
The importance of high-quality content
First impressions matter. Blurry, dark or low-resolution photos can make it difficult for social media users to properly appreciate your nail creations, which could impact whether they decide to book an appointment. So, it’s crucial that your feeds feature clear, well photographed content.
A study by e-commerce platform, Shopify, revealed that high-quality photos had a 94% higher conversion rate than low-quality photos. Findings by photo editing brand, Slazzer, support this, with 90% of online buyers reporting the quality of photos to be the most influential factor in determining sale decisions.
Grimsby-based nail pro & photographer, Alison McCall, notes why this is particularly relevant to nail techs: “Photos added to your social media platforms and website function in the same way physical products do in shop windows: they enable clients to browse your work and get a feel for your style. Clear images help clients decide on whether to choose you over another nail tech.”
Alison McCall
Phone camera settings 101
IPHONE USERS “Unfortunately, iPhone users with models 14 or older are not able to change many of their default camera settings,” shares Alison. “However, I recommend turning on the grid setting to help line photos up more effectively. To do this, go to ‘Settings’, click ‘Camera’ and turn on the ‘Grid’ option.
“You can also use the ‘tap to lock’ feature, which locks your focus on a specific spot. To do this, press and hold the screen until ‘AE/AF LOCK’ appears. This works particularly well if you have your phone set up on a tripod to film content.”
“Users of iPhone 14 Pro and above can access the RAW setting to capture the highest quality images possible. To do this, go to ‘Settings’, select ‘Formats’ and turn on ‘ProRAW & Resolution Control’. Alison explains: “This will give you the most control when editing photos, as your camera will capture the most information possible, preventing grainy or low-quality images.”
ANDROID USERS
Alison reveals that Android devices offer more control over camera settings than Apple. “Turn on ‘Pro Mode’ to gain control over more aspects of a photo and its settings,” she suggests. “You can then use sliders to alter individual settings.
“For natural lighting, adjust settings to ISO 100, a shutter speed of 1/250 or 1/100, centre focus and set white balance to auto. This ensures the camera adapts to the scene you’re shooting automatically.”
SETTING THE SCENE
Consistency is key when choosing backdrops for nail images. Alison explains: “I use a T-stand with a plain white PVC sheet for my nail shots, which allows the nail art to pull focus. The simpler the backdrop, the better. You work hard on the nails you create, so don’t let messy or distracting backgrounds detract from your work.”
Alison shows the white background she uses for nail content.
NAIL GLOSSARY
• Exposure: The amount of light that reaches a camera’s sensor when a picture is taken.
• ISO: The sensitivity of the camera to light.
• White balance: The camera’s process of adjusting settings, so colours appear true to life.
• Shutter speed: The speed that the camera’s shutter opens and closes.
Lightbulb moments
A well-lit photo helps clients see the true quality of your work and the skill involved. If a photo is overexposed, it means too much light is entering the image, causing the colours to become distorted and appear washed out. On the contrary, underexposure means there is too little light, making it difficult to discern the focus of the image.
Light the a a ph easie
Alison outlines three types of lighting and how to work with them to capture clear, compelling nail photos:
1. NATURAL LIGHTING “This type is the best all-round light source, as you are less likely to have shadows. By using a white backdrop, you can bounce natural light to fill any unwanted shadows and achieve natural-looking shots. The drawback to natural light is that you need to have a lot of it, so setting up next to a window on a sunny day is ideal for capturing great photos.”
2. BAR/LONG LIGHTING “A long light will create lines of light along the nails. While this can look flattering on block colour nails, I’d advise against it for nail art. The lines of light projected can obscure or obstruct intricate designs when trying to photograph them.”
3. ROUND BULBS “A round bulb is often the most flattering choice for nail photography, owing to the fact it does not leave harsh lines of light on nails. My personal lighting preference is the round bulb, as it is the most cost-effective and accessible option for consistently achieving flawless photos.”
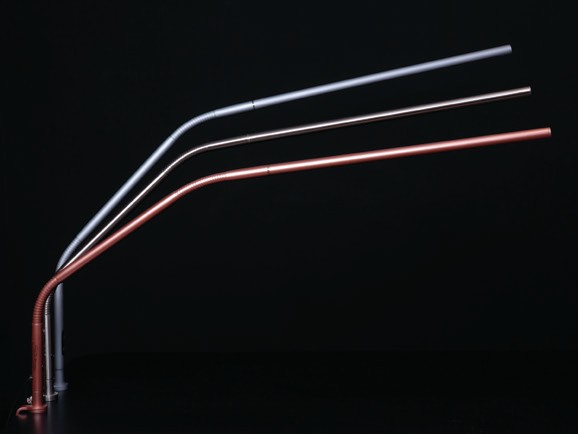
Daylight Company Slimline 4 Table Lamp
£159.49 inc VAT www.daylightcompany.com
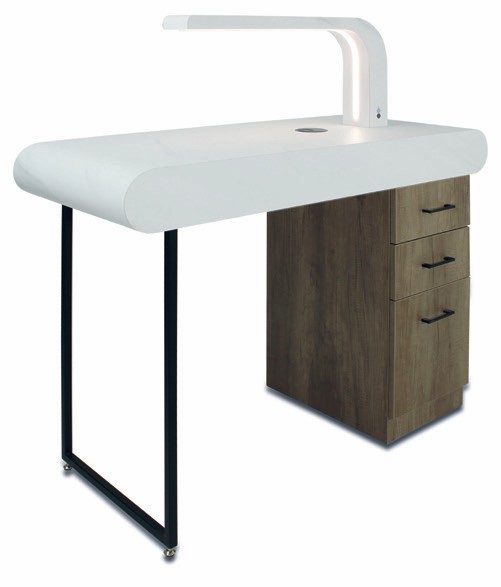
REM Monaco Nail Table with Light
from £1,113 + VAT www.rem.co.uk Why not opt for a nail desk with built-in lighting, like this option from REM?
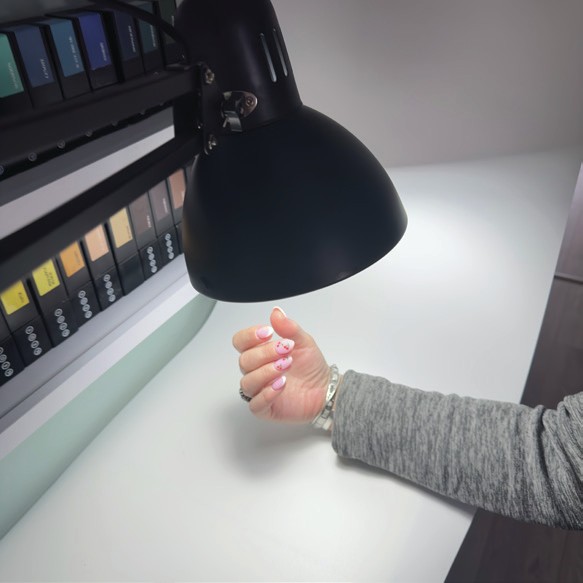
The photo result of Alison using a round bulb.
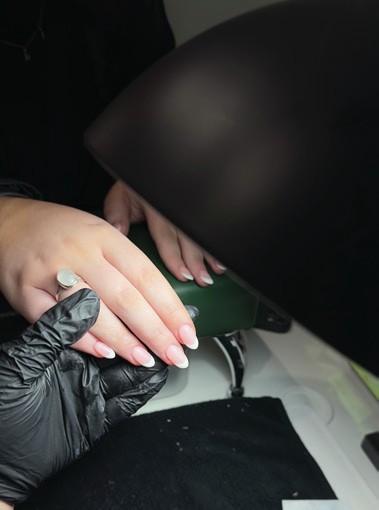
A behind-the-scenes look at Alison using a round bulb.
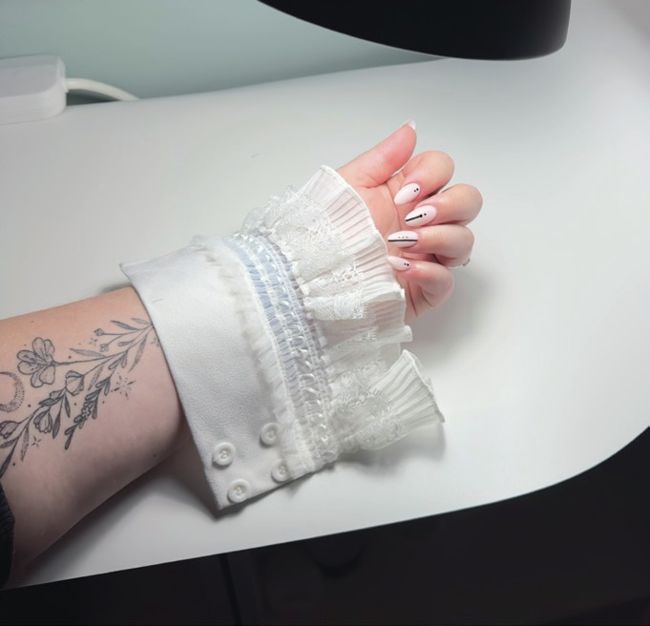
Use accessories to complement nail designs and add personality to images. For example, Alison uses a false sleeve to add an ethereal effect to enhance overall visuals.
“Always position your phone and light close to the nails. This will help capture the most detail without having to zoom in, which can make an image pixelated.”
Alison McCall
Strike a pose
Lights, check. Camera, check. Now for the action! Getting a client’s hand into a photogenic position can sound easier than its reality. Alison shares her tried-and-tested tips for finding hand positions that work: “Personally, I find it easier and more effective to repeat the same hand position across all photos. This keeps imagery consistent, helps you to establish your brand identity and style, and allows for quicker photo sessions.
As a result, you’re more likely to capture high-quality images to post.”
Alison also notes that personal preference plays a large role in hand positioning: “Some nail techs prefer to capture both hands in one photo, while others will feature just one. The key is to ensure the nails are the stars of the show.”
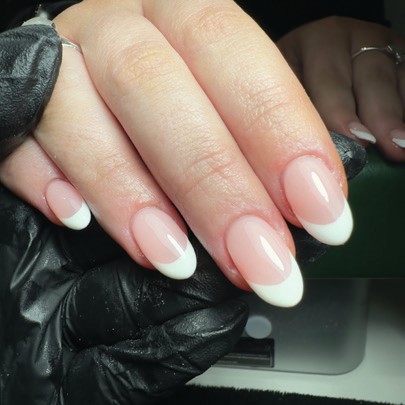
@byrdiedoesnails alternates between two hand positions to keep her posts looking consistent and recognisable to clients.
Enter code SCRATCH at checkout for 10% off!
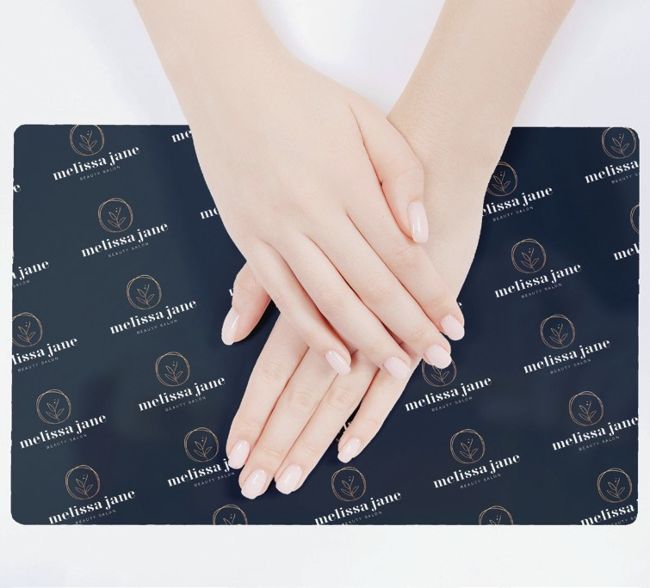
NorthernDesignCo Personalised Logo Nail Mat
from £17 inc VAT www.northerndesign.co Customisable nail mats featuring your business logo are an effective way to prevent your work from being shared without credit, while offering an aesthetically appealing backdrop to photos.
Protecting your images
Social media can expose your business to a much larger clientele, however the outward-facing nature of the platform also poses the risk of accounts reposting your content and presenting it as their own. Alison suggests adding your business logo or social media handle to images, to ensure your work is always credited to you. She says: “This allows you to immediately identify whether work on another profile is yours, and significantly reduces the likelihood of work being shared without credit.
“If your business logo has a transparent background, you can easily add it to your photos using an app such as PicCollage. If your logo is more intricate, consider including your social media handle, to prevent making images too ‘busy’. Try positioning it in an area that is discreet enough not to distract from the nails, but that can’t be easily cropped out.”
Alison added her
Instagram
handle to this image, in a discreet location between the index and middle fingers.